

Create a certificate
You create a certificate manually when you have a source document — a CoA in CSV, Excel, PDF, XML or JSON — that you want to turn into a submittable certificate. DASH maps the file onto a Definition using a Definition Map, and the certificate is created in Draft status ready for you to review.
Certificates can also be created automatically by a source channel that polls an external system. This article covers the manual path — for the automated path see How automated ingestion works.
1. Start a new certificate
Section titled “1. Start a new certificate”- Open Certificates from the main menu.
- Select the + button. The Create new manual certificate dialog opens.
- Search for and select the material the certificate belongs to.
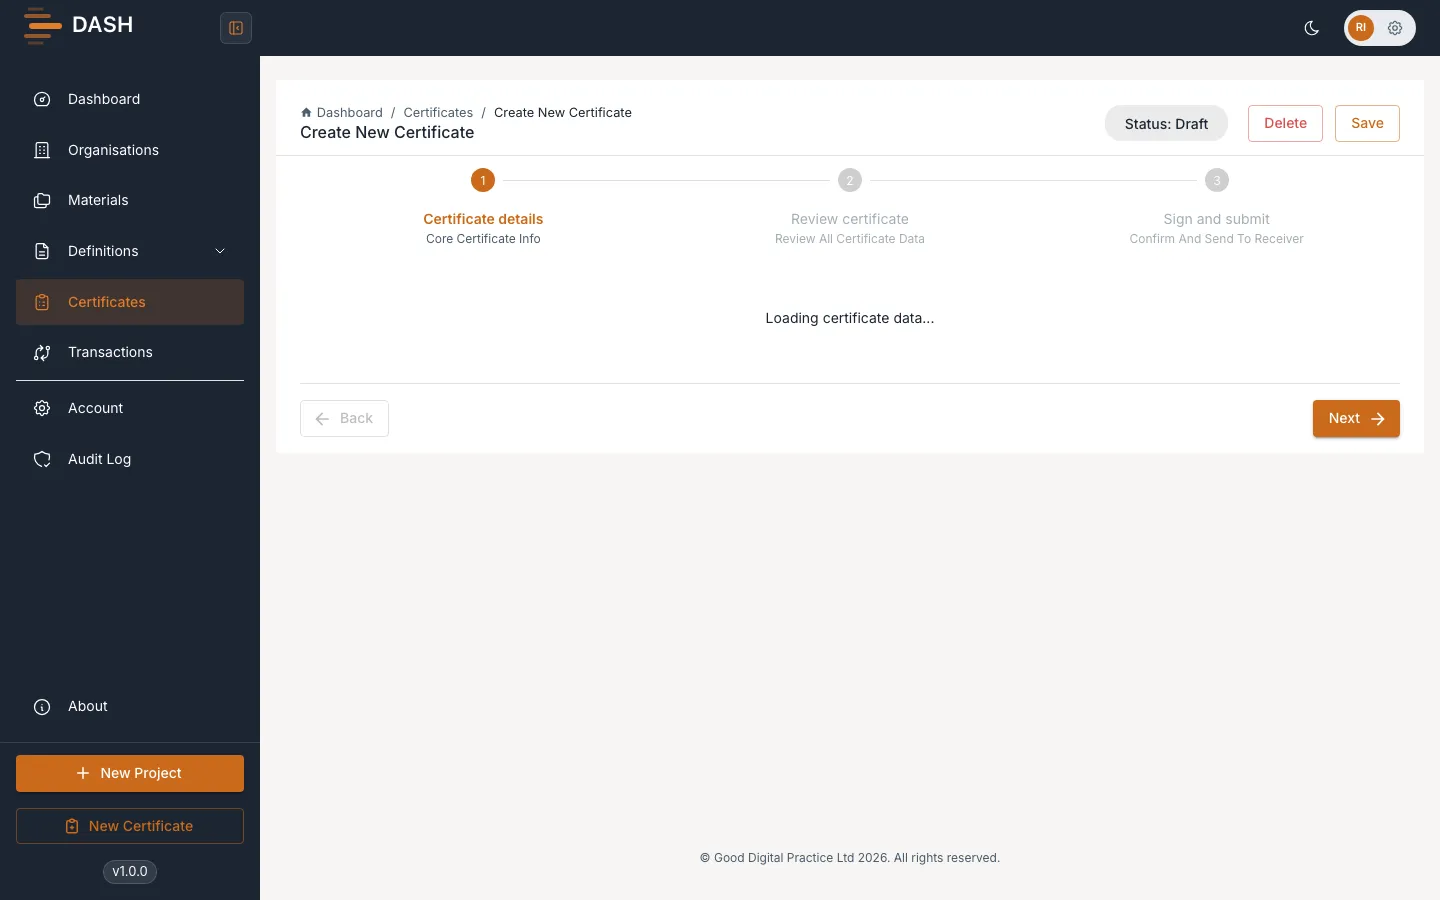
- Select Create. DASH creates the draft and opens the certificate wizard.
2. Choose the definition and definition map
Section titled “2. Choose the definition and definition map”On the Certificate details step, the material and organisation are already set and read-only.
- Choose the Definition Version. The material’s pinned default version is selected for you; you can switch to another version if needed.
- Under Definition Map, choose the map that matches your file. Each map is labelled with its source type (CSV, Excel, PDF, and so on) and how many field mappings it has. When you drop in a file, DASH highlights the map that matches its type with a green tick.
3. Choose the source data channel and upload the file
Section titled “3. Choose the source data channel and upload the file”Under Source data channel, choose how the data is gathered. For a manual certificate, select the DASH (Manual) channel — this reveals a file upload area.
- Drag and drop your source file onto the upload area, or select it to browse. Only file types that match the selected definition map are accepted.
- DASH uploads and parses the file. For PDFs, data is extracted with AI, which can take around 30 seconds per page.
- When parsing finishes, a green chip shows how many records were parsed.
If you pick a non-manual source channel instead, the certificate is expected to arrive through that external connection rather than a file you upload here.
4. Confirm the certificate data channel
Section titled “4. Confirm the certificate data channel”Under Certificate Data Channel, choose the channel the finished certificate will be sent through on submission. DASH pre-selects the built-in DASH (Manual) channel if you have not configured an external one. See Submission channels.
5. Move to review
Section titled “5. Move to review”Select Next to save the details and move to the Review certificate step. Your certificate is now a draft.